mbNet Router
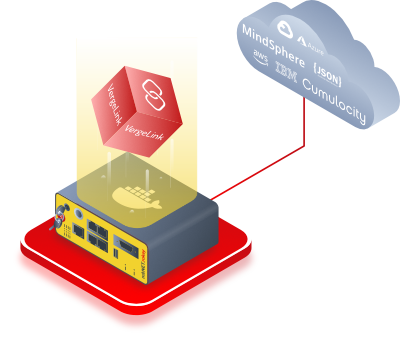
Deploy VergeLink on Your mbNET Router
This guide describes how to deploy VergeLink as a Docker Container on any hardware.
Prerequisites
- You have received your verglink.io login
- You have received your credentials for the VergeLink Docker registry
- You have access to your mbNet Router - Either locally or via the mbCONNECT24-Portal
- You have set up your mbEDGE.advanced SD-Card & activated portainer.io
If you are missing access to the registry or vergelink.io, feel free to contact us at vergelink@codestryke.com.
How to Deploy the VergeLink Runtime
Onboarding key
First, navigate to the vergelink.io UI.
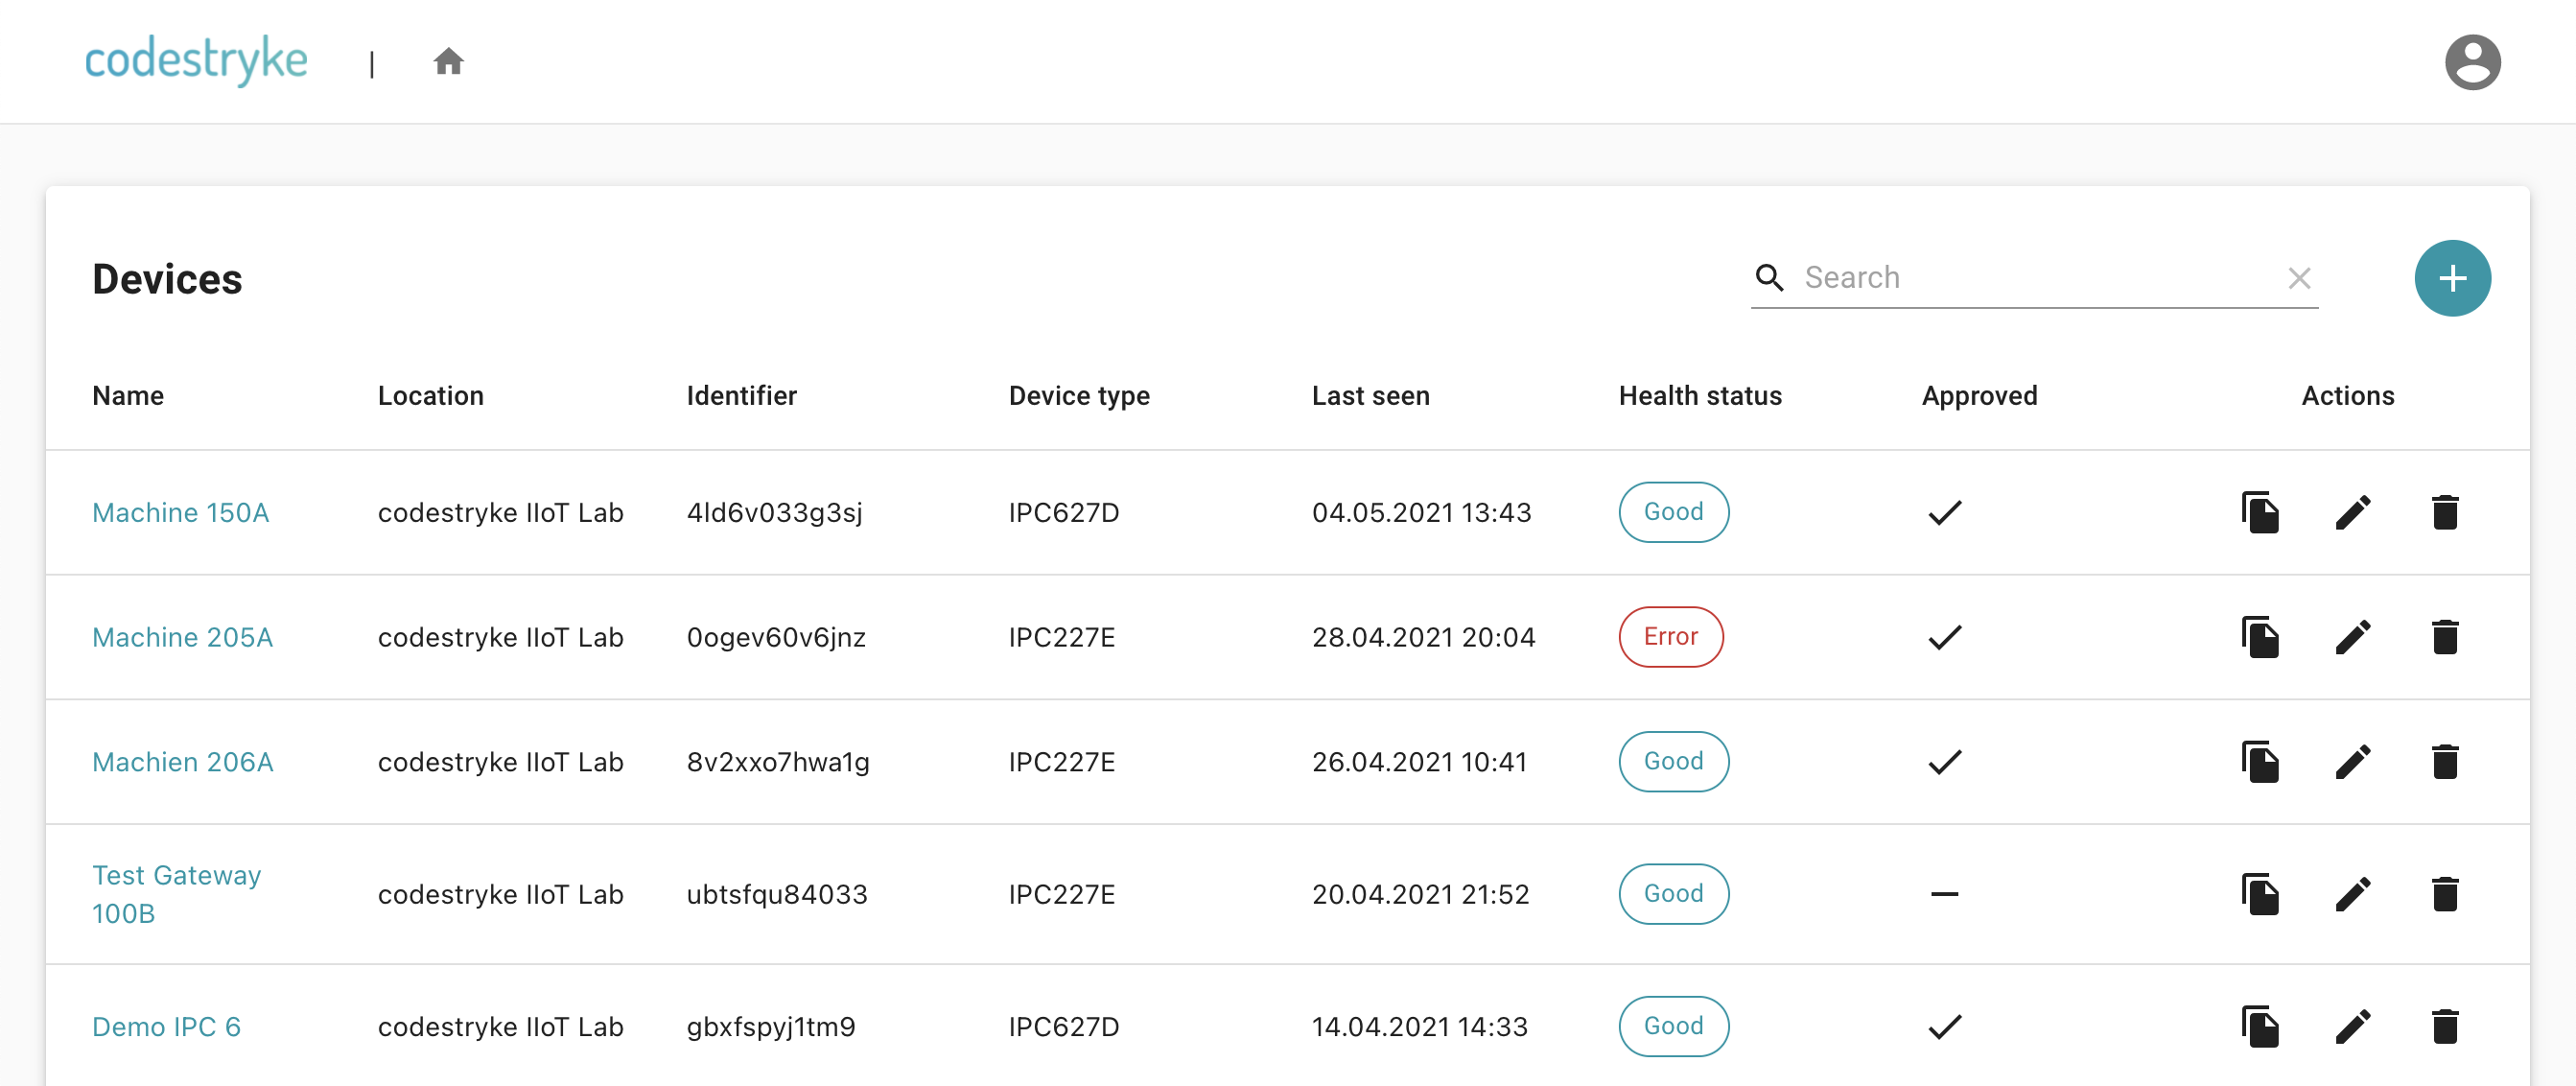
Here you can download the VergeLink onboarding file from the VergeLink UI by clicking on the (+) button on the Devices page.
You will need the onboarding information contained in this file later in the deployment process.
Adding the docker registry
The actual deployment of the docker container on the router happens via the portainer.io UI. You can learn how to access portainer in the documentation of your mbNET router.
On the Portainer UI navigate to the Registries (in the left menu)
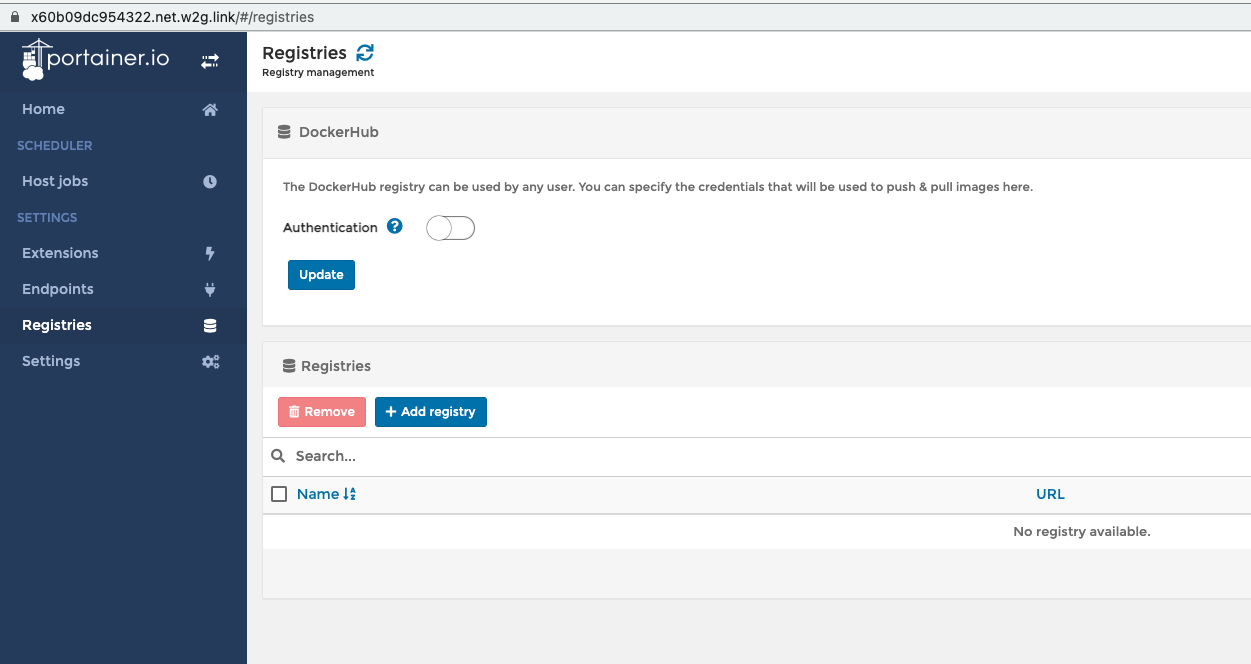
Then click on "Add registry", after that, click on "Custom registry". Fill in the fields as follows:
- Name:
vergelink-registry - URL:
registry.gitlab.com - Authentication ☑
- Username: The "Registry User Name" provided to you.
- Password: The "Registry Password" provided to you.
Then click on "Add registry".
Creating a volume
Now open "Volumes" in the left menu.
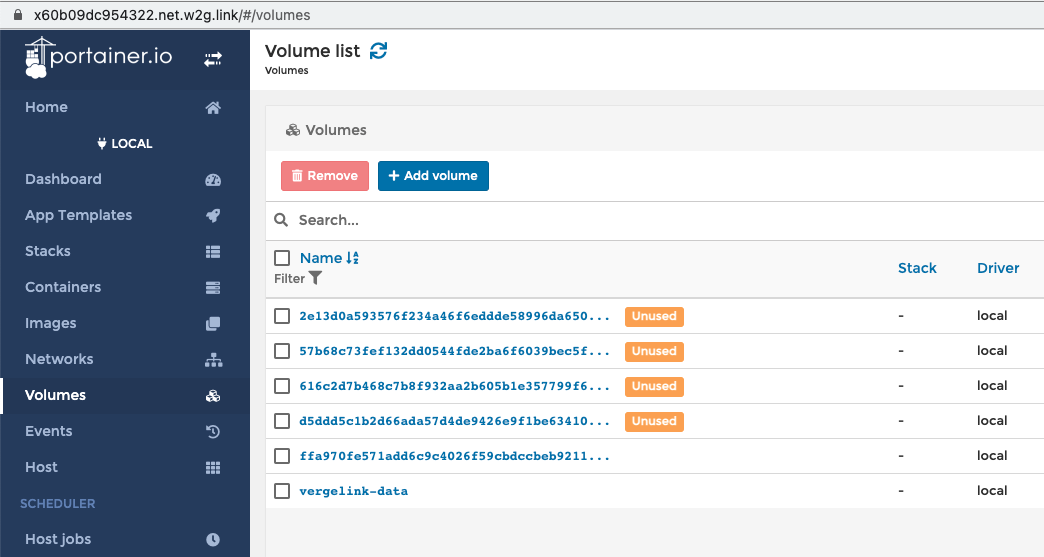
First click "Add Volume" and enter the following name: vergelink-data. Click on "Create" to create the volume.
Starting the container
Open the menu item "Containers" in the left menu, then click on "Add container" and fill in the fields as follows:
- Name:
vergelink-runtime - Registry: vergelink-registry
- Image:
codestryke-tech/codestryke-edge/verge-link-mbnet
Scroll down to the "Advanced container settings" panel and set "Console" to "Interactive & TTY".
After that switch to the "Volumes" tab (inside the same panel) and click on "map additional volume" and fill in the fields as follows:
- container:
/data - volume: vergelink-data
Then switch to the Env tab, click on "add environment variable" and fill in the fields as follows:
- name:
DEVICE_CONFIG - value: Here copy the content of the "DeviceConfig.json" file you have downloaded
After that, you can click on "Deploy the container" and wait for the deployment to complete successfully.
Once the deployment is completed successfully, check the Containers menu item to see if the container has a status of "Running".
Configuration using the VergeLink UI
After a few seconds, the VergeLink device will appear on the Devices pages of the UI. You can now follow the Quick Start guide to configure your device for data transmission.